Watch our installation video to see just how easy it is to install FormBoss®
Connecting a Length or joining a Ring :
Other useful links:
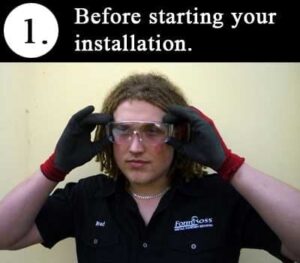
Safety: Always wear work gloves when handling the stakes and edging pieces to avoid the risk of cuts. We advise the use of eye and ear protection when using power tools.
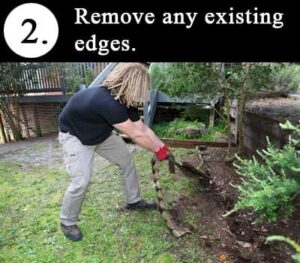
Remove any existing plastic or metal garden edging
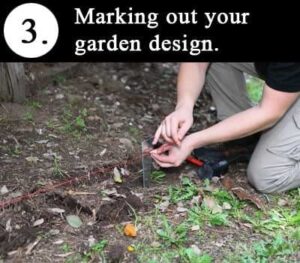
For straight lines, use a string line stretched taut from either end. For curves, use chalk or spray paint to mark out your design. You can also freely install FormBoss® as you go, without a design.
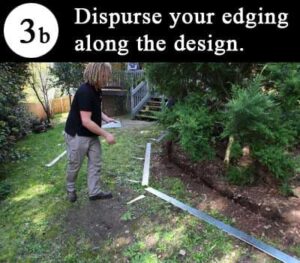
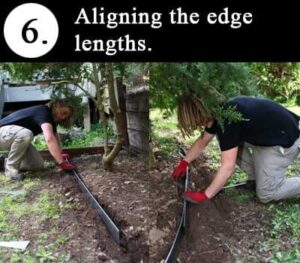
Cut your bundles open and disperse your edging along the line you’re working on.
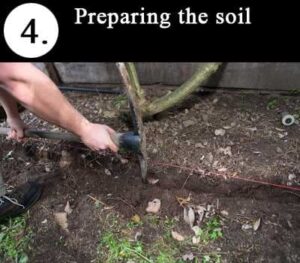
Dig out a furrow along the lines that you have marked using a hand trowel or spade. Keep in mind that the depth of your furrow will dictate how much edging is in the ground. For general strength requirements a minimum of 1/3 of the profile height is recommended.
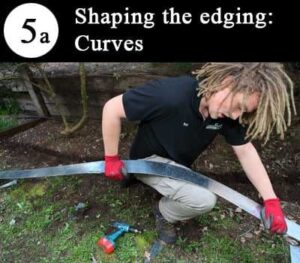
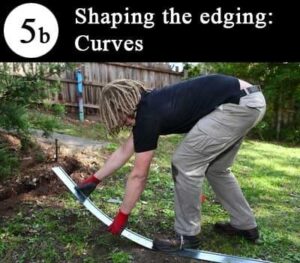
Bend and shape the edging pieces to suit the application. For curves, run your foot or hand down the length using even pressure to create the curves. There are multiple methods of shaping the edging, the best method will depend on the user.
Tip: For tighter curves use our rubber forming strip to avoid kinking the edge. Take a look at it here.
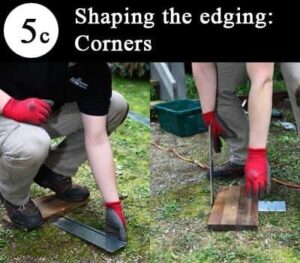
For corners, lay something straight such as a piece of timber, across the edge and lever the edging up to create your desired angles. It will be fairly difficult to create angles out of the last 25cm of your length. You are advised to cut the length prematurely and put the angles into the main body of edging. The offcut can be used as a connector.
Lay one piece of edging into the furrow to gauge the finished height. Adjust the depth of the furrow if necessary. Make sure there are no rocks or roots blocking your desired path.
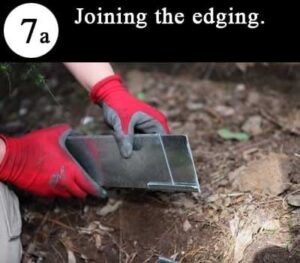
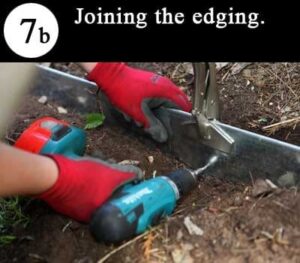
Join three to four shaped pieces together using the smart connectors provided. Alternatively you can use off-cuts of edging cut into small sections. To connect, turn the connector upside down and put in place with both lips facing each other, locking in both top and bottom.
Clamp this before inserting a screw at the bottom. Screws must be inserted below the soil level for safety, and aesthetic reasons.
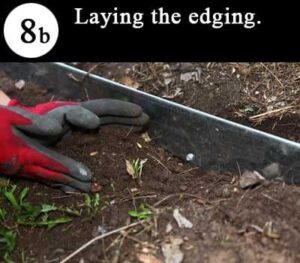
Lay the connected lengths of edging into the furrow at your desired height. Back-fill the furrow so that the edging is supported by soil on both sides and resting at your desired height.
Tip: Keep in mind that the edging will need to be in the ground a minimum of 1/3 the height of the edging. The more edging in the ground results in a stronger installation.
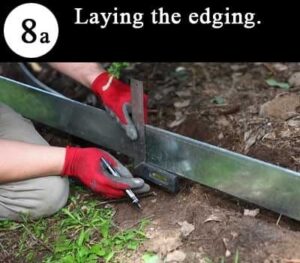
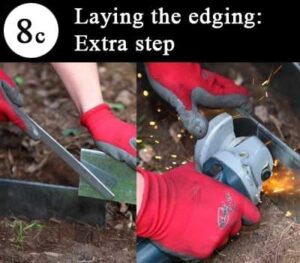
Extra step: Overlap excess edging, mark with a square and cut. File off the burs.
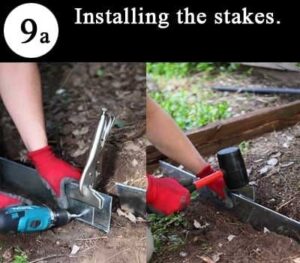
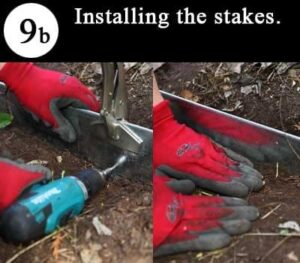
The stakes are fitted to the side with the top lip. Tap the stake into the ground as close as possible to the edging. Lift the edging and place the lip on the stake. Clamp the stake to the edging and then remove some soil to allow you to insert the screw into the stake as close to the bottom of the edging as possible.
Tip: The screw must be under the level of the soil for safety and aesthetic reasons. When using angled stakes, it is necessary to insert two screws at the bottom. Back fill the area around the screw.
Tap down the edging with a rubber mallet to make your final height adjustments. For best results, use a rag to wipe the edging down after finishing the installation. Also compacting the soil by walking along the side of the edging will make your installation stronger.
Contact Us
Greenlines Gardenware Pty Ltd, FormBoss® Australia HQ (VIC)
Get In Touch
Please fill out the form below to get in touch with us.
