Connecting the Lengths

Standard Connection

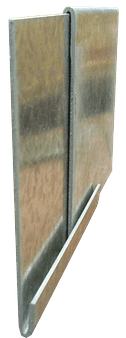
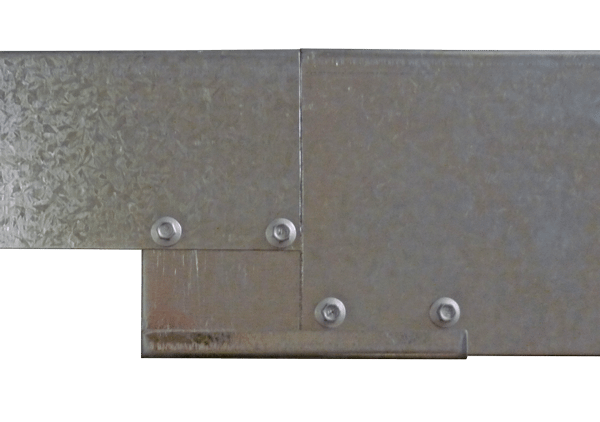
The FormBoss® rolled top lip is what allows connections to be as clean as possible.

Arraywith FormBoss Metal Garden Edging

Simply get your smart connector, making sure the rolled lip is at the bottom, and slide one of your lengths halfway so the lip is pinching the edge top and bottom.

Arraywith FormBoss Metal Garden Edging

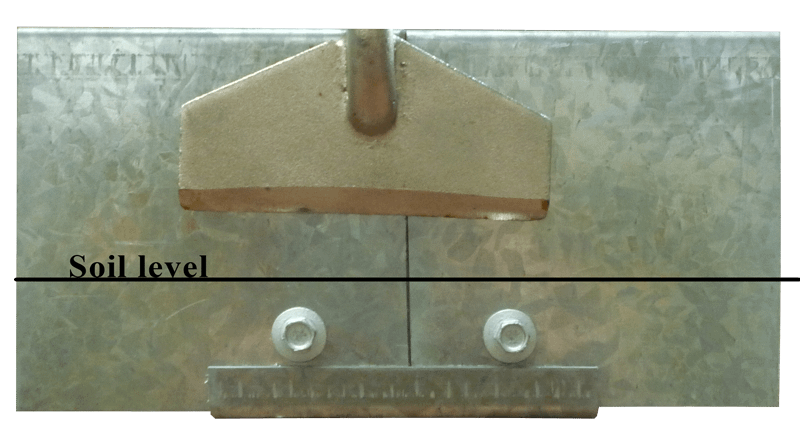
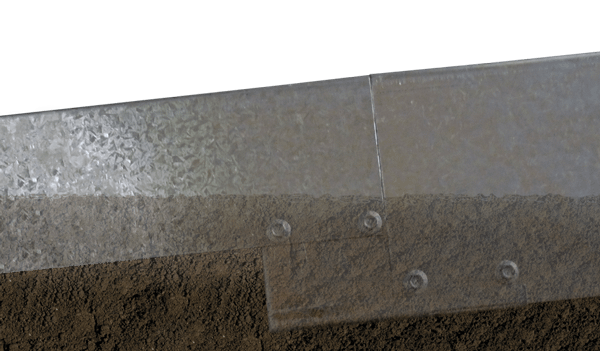
FormBoss® allows you to have flawless uninterrupted lines with all the connections, stakes and fixings hidden under the soil level!

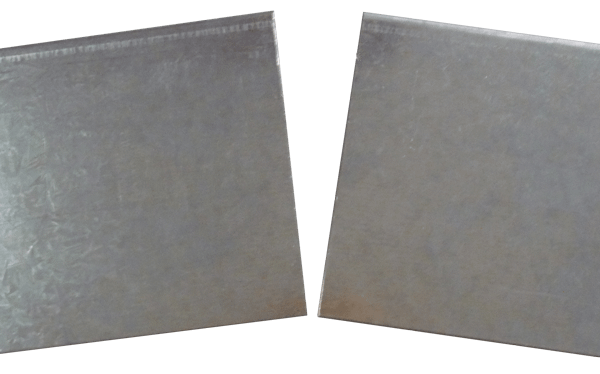
You’ll have to make sure that it’s square in order to get the cleanest connection possible.
Arraywith FormBoss Metal Garden Edging

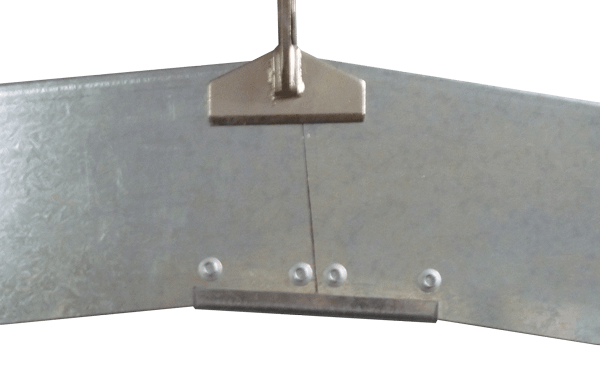
Push both lengths tightly together and clamp them there for best results.

From our experiences a wide brimmed vice clamp works best (as seen below)

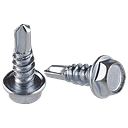
Clamp your metal garden edging and insert two self tapping screws through either side of the connection.

For profiles over 185mm you will need to insert two screws either side of the connection instead of just one.


Arraywith FormBoss Metal Garden Edging

You can also cut up your offcuts to get the same smart connectors.

When we cut up connectors we grind off the sharp burr created by cutting, and cold gal spray paint the exposed (Galvanised steel) edges to ensure longevity.

You are strongly advised to file off all sharp edges and cold gal spray paint any exposed bare (Galvanised) metals for maximum longevity.
Arraywith FormBoss Metal Garden Edging

Connectors and screws are included FREE with every order. We’ll work out how many you need when you order!

All screws supplied by us are self tapping, no need to pre-drill, just apply an even pressure and they’ll work their way through the steel by themselves.

Connecting a Length or joining a Ring :

Connecting on a Sloping Block

Sometimes, when the land is rising or sloping, it is difficult to maintain a consistent edging height.

FormBoss® makes it incredibly easy to connect edges on uneven blocks of land.

To connect on a sloping or rising block (in this case sloping):

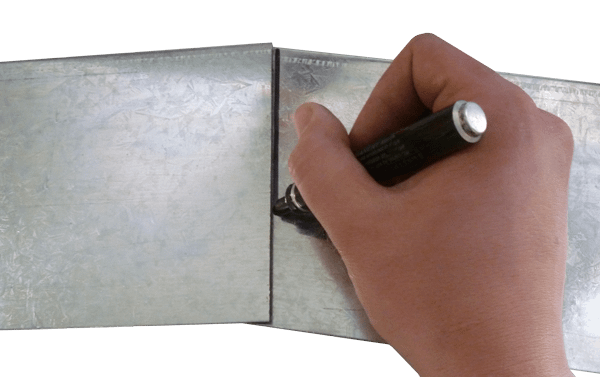
1. Judge the angle of the slope by laying a piece of edging either side of the change of gradient. Just lay them on top of the soil slightly overlapping the steel at one end.


2. Get a pen and mark the edging where it overlaps. Note that this can work whether you’re dipping the edging or raising it, both methods remain the same.

3. Cut along the line with an angle grinder or hack saw, and join as per usual with a normal smart connector. It always helps to have a good clamp.

4. Lastly, install as you would usually, taking care to cover up the screws with the soil level.


Effective Tips*

Try repeating this process two or more times to get a more subtle change of angles.

Try putting an angle on any of your edges to give it a tapered effect. It can look really great in the larger sizes of edging! You can also just push one end of the edging flush into the ground to get a fading out effect.
 

Connect Different Profiles

A tapered edge can look elegant and bold, it really separates your garden from the rest.

To achieve a dramatic tapered edge follow these steps.

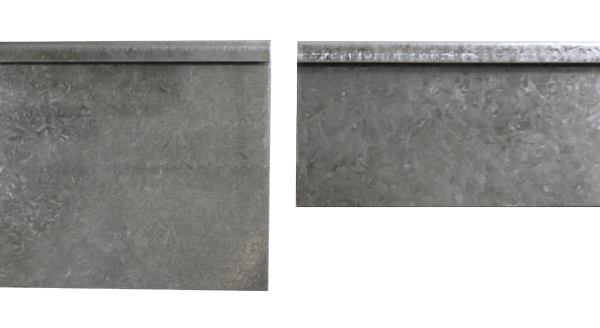
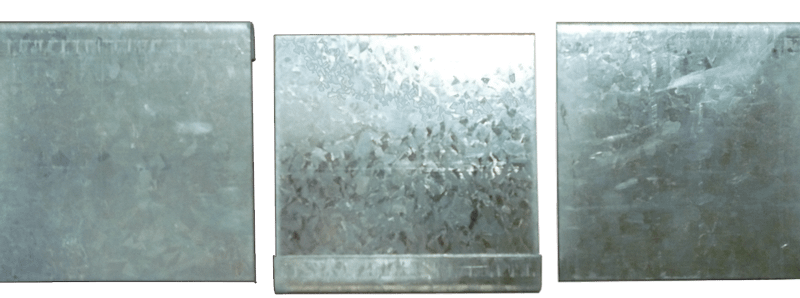
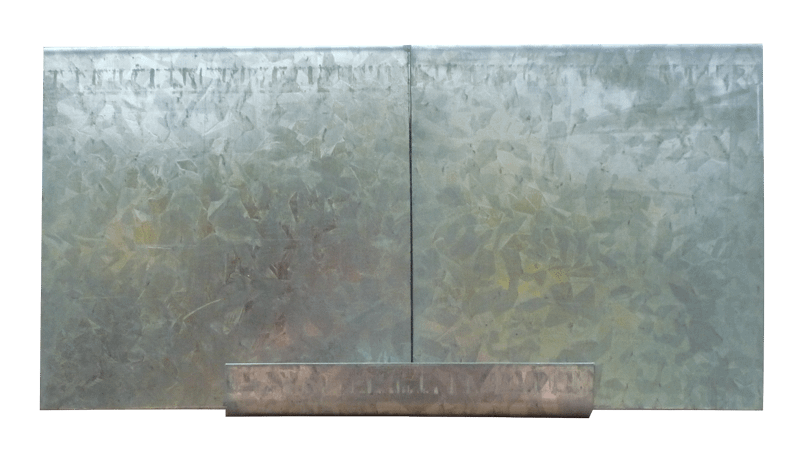
1. Decide how dramatic you would like the edging sloping. This will determine what profile heights you will choose. The bigger the difference between the two profiles, the steeper the slope will be.

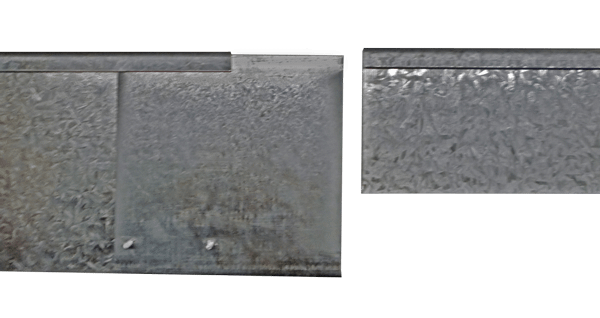
I’ve used a 100mm piece, and a 150mm piece in this picture. This will give you a nice gentle slope.

2. Connect the larger smart connector to the larger edge with your supplied self tapping screws.

3. Connect the shorter profile as you would usually.

4. Lay in the ground on an angle, taking care to make sure your screws are below the soil level.

Tip* Your stakes will still work the same as usual, just make sure to tap them in so the top of the stake is on a similar angle to your edging.

Contact Us

Greenlines Gardenware Pty Ltd, FormBoss® Australia HQ (VIC)

Get In Touch

Please fill out the form below to get in touch with us.