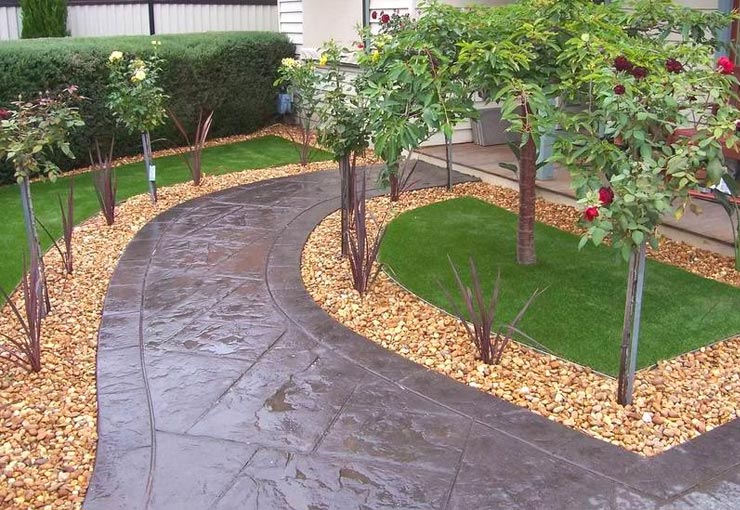
Edging your flower beds might not seem like an essential gardening task, but it actually makes your whole garden look nicer. It cuts down on the number of weeds and grass growing in your flower beds, which improves the health of your plants and flowers as well as making your garden look more manicured and cleaner overall. While edging may seem intimidating, once you get the hang of it, you’ll wonder why you didn’t do it sooner! Here are some useful tips for how to edge your flower beds like a pro.
5 Simple Steps to Edge a Flower Bed Like A Pro
Most gardeners don’t want to look at unfinished edges around their flower beds. It makes the whole job look sloppy and unprofessional, but there are ways to remedy this situation—even if you’re not particularly good with edging tools or have never done it before! Check out these five simple steps for doing your very own custom edge work in your backyard.
1. Mark the Border
Before you begin, it’s important to mark off where your edge will go. You don’t want to end up edging something that isn’t supposed to be edged! So, take some time and mark off exactly where you want your bed edges to start and stop using some string or even some brightly colored flags or spray paint. This way, when you get started with actual edging work, there won’t be any mishaps—and no need for do-overs either! If there are any specific bed shapes that need to fit into particular edges (like adding curves), get those marked off as well before moving on.
2. Cut the Outside Edge
Once you’ve marked off your flower bed, it’s time to cut along your lines with some power tools. Start on one end of where you want your edge work done and use a cordless or manual edger for cutting out that nice, crisp edge on all sides of your flower bed borders. If you have a particularly large border space to work with, consider investing in an edger attachment for your ride-on mower—it will save you lots of valuable time and energy! You may want to consider adding a mulch layer along your newly created edges as well—this makes everything look tidier and helps prevent weeds from popping up around unwanted areas!
3. Cut the Inside Edge
This part is actually much easier than cutting out that border along your flower bed edges! Start at one end of where you want your inside edge work to be done, and use either scissors or an edging tool for carefully making those final touches along your beds. Make sure everything is trimmed nicely so that there are no stray, overgrown grass blades or weed roots left behind after you’re finished working!
4. Remove the Sod
This part is crucial if you’re trying to edge over an existing grassy area! If you don’t remove that sod first, it will be difficult (or even impossible) for you to keep your new flower bed edges looking nice and neat. Start at one end of where you want your edging work done and use some sort of tool or even your hands for pulling up grass blades by their roots. Make sure everything is lifted all at once because if there are any clumps left behind, it will make things harder for you later on when you’re making those final touches along your beds! Afterward, take some time to tidy up around that freshly uprooted sod.
5. Maintain the Edge
If you’re using mulch around your flower bed edges, make sure you keep it tamped down regularly so that weeds can’t grow along those decorative borders! Also, try not to let too much grass or weed growth get into those border spaces—it will only make things look messy and more difficult for you in the long run. If you feel like things are looking unkempt, just go back out there with your edging tools and tidy up everything again! Soon enough, your new flower bed edge will be looking beautiful and carefree all on its own!
Conclusion
Hopefully, these five steps will help you edge your flower beds like a pro! Don’t forget to make sure everything is completely done before moving on, or you might run into some problems later on when it comes time for maintaining your newly created flower bed edges.